Everyone hates being double booked 🤬 take our tips to create internal resources for complete scheduling confidence!
On this Page 📑
Create your list of resources, ready to utilize 🌠
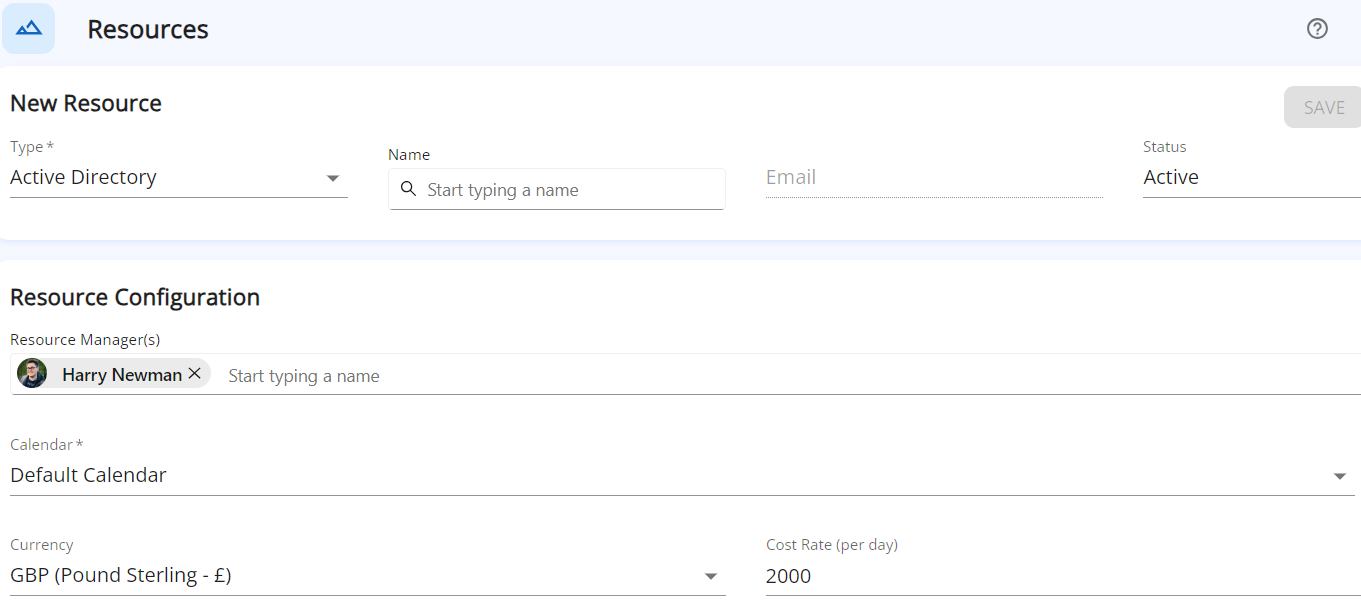
For internal resources, create a list of live resources from your active directory:

So you can create reports like this:

The concept is simple, create the internal resource, assign them to tasks within projects and see their allocation and utilization.
Adding this list of Resources from your Active Directory will not require listed users to have an edison365 license- you are simply using your Active Directory to create a list of names.
The ingredients 🥣
The elements that went into the internal resources:
- Calendars- We only needed one calendar, Monday- Thursday, 32 hours per week.
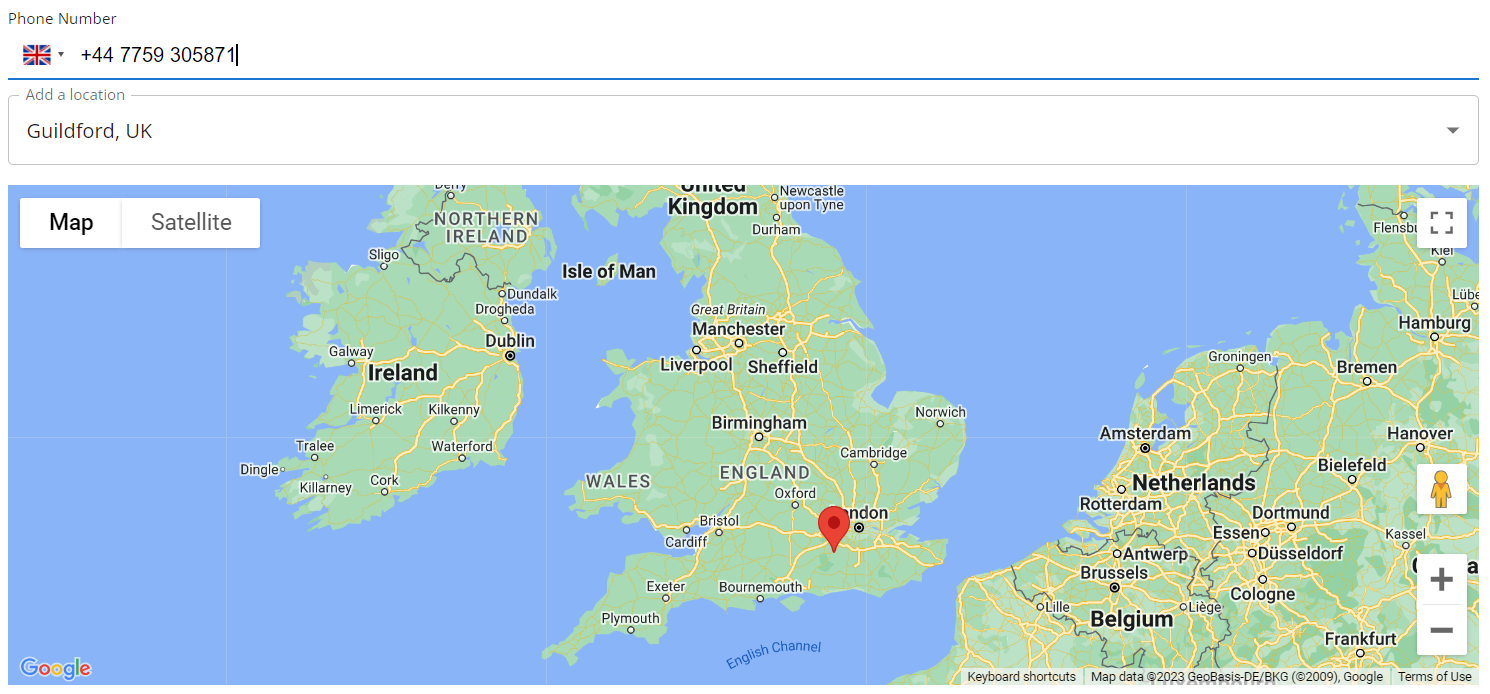
- Resource Fields- We added Phone Number and Location, for extra detail.
- New Resources- Our resources are named employees, so we selected them from Active Directory.
- Resource Configuration- Finally we selected the calendar we configured earlier and filled in our resource fields
Added extras 👀
- Add more resource fields- For example, a multiple choice field for Qualifications or Certifications.
- Keep the status of resources up to date- Edit your resource and change the status to Unactive, so they cannot be used.
Step by step 🎉
The things you need to take to build an internal resource list like me:
- Configure your calendars
- Administration
- Calendars
- Create
- Save
- Repeat per different working pattern
- Create Resource Fields
- First reate the fields
- Administration
- Fields
- Create
- Then go to...
- Resources
- Resource Fields
- Select previously created Fields
- Save
- First reate the fields
- Create Resources List
- Resources Tab
- Resources Tile
- Create
- New Resource Section
- Type- Active Directory
- Search person by Name
- Status- Active
- Resource Configuration Section
- Fill Resource Fields
- Save
Further reading 🔎
To learn even more about how to create a Risk Table that works for you, please refer to our Admin Guides.